


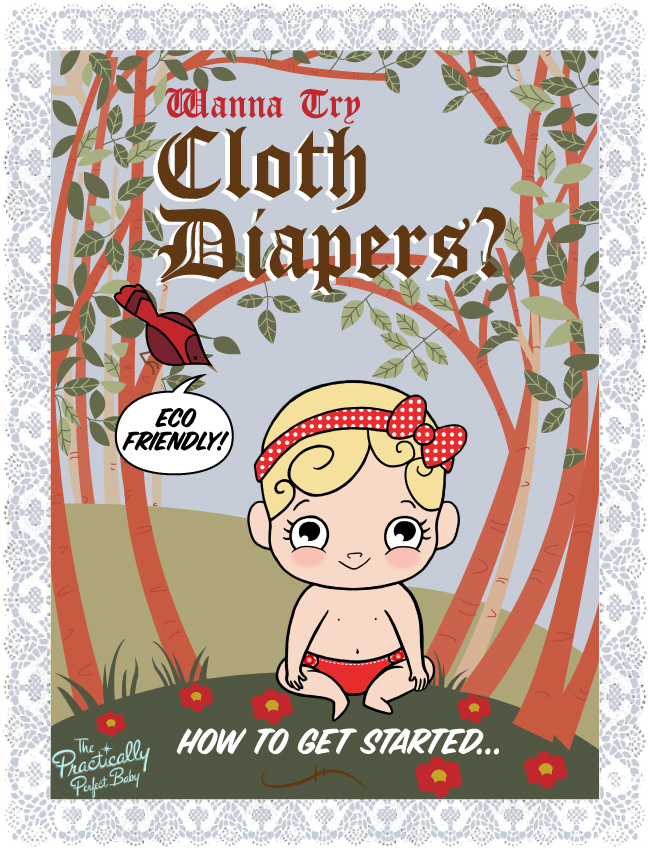


Cloth Diapers
A modern family is naturally concerned about the environment, especially about the planet we’ll leave for our children. Cloth diapering has become one way you can do something personal to combat the waste. But, we know — the idea is completely intimidating and overwhelming! One practical mom shares her experience with success in cloth diapering her baby for you, if you’re at all interested in trying it out.
When I first considered cloth diapering my not-yet-born son three years ago, I imagined myself pinning white rectangles of cloth onto my child after liberally dousing him with powder and diaper rash ointment. Little did I know or understand about the new era of cloth diapers and the many modern and adorable options now available. I googled “cloth diapers” expecting to find my imagined white cloth rectangles, and was hit by the tsunami of new cloth diapering options. Pre-folds, pocket diapers, inserts, covers, velcro, snaps, wool covers…the list went on and on and I was overwhelmed! How was I to figure this out? I turned to my seasoned, parent friends for help and advice, and they guided me and showed me how to make cloth diapers fit into a new mom’s busy life.
Here is the system that I found worked best for my family…
Diaper Service:
A wonderful gift given to us before my son was born was a month of diaper service. I highly recommend requesting this as a gift from friends and family, or if you can afford it, treat yourself!
Diaper service generally works like this: the service brings you a diaper pail and a stash of clean diapers before your baby is born. Our diaper service lady even modeled for us how to put the diaper on a baby using a doll. After the baby arrives, the service picks up the dirties and drops off clean ones once a week. You simply place your pail on the porch and, like magic, clean diapers appear! We found this to be a great way to ease into cloth diapering, and a huge help with the work load in the first month when one can go through about a million diapers in 24 hours and wonder how such a small human can produce so much poop! Our diaper service provided pre-fold diapers (that’s what the white rectangles are now called) and a couple of covers. Covers are one way of holding the diapers in place (no more pins, hurray!) We supplemented our stash of covers with a few cute ones like these: Hook & Loop Diaper Cover
My system:
By the time my son was 1 month old, we felt ready to go out on our own with cloth diapers. After consulting with friends, we decided to go with one-size-fits-all-pocket diapers. Pocket diapers have essentially two working parts. There is, again, the cover. This time though the cover has a soft inner layer that creates a pocket with the water resistant outer layer. This soft microfleece is the part that touches your baby’s soft bottom. Then there is the absorbent insert. You simply stuff a clean insert into the pocket of the diaper, and you are ready to go. “All in one” diaper systems exist, but we liked these pocket diapers because of the versatility. You can use one insert for normal times, stuff with two inserts for night time or when you can’t change baby for a while (like a car ride), and you can separately wash all pieces. Your inserts will likely need to be “stripped” (see Washing below) and this allows you to wash them separately. The one-size-fits-all also allows the diapers to grow with the baby and saves you some serious cash in the long run. Figuring out the numerous snaps on the diapers can be tricky at first, but once you size all diapers to fit your baby, and you get into the swing of things, you’ll find that it is really no problem. We used the same pocket diapers from the time my son was 1 month old through his second birthday, and they are ready to go for baby number 2!
We purchased diapers from Sunbaby Diapers at sunbabydiapers.com. We also received some Fuzzibunz as hand-me-downs and loved those as well. We purchased 24 covers and 48 inserts from Sunbaby Diapers, and with the hand-me-downs, we had a total of 30-ish diapers. With this quantity, I washed every 3 days when my son was little, and every 4 days as he got older, which worked for me and was worth the additional up-front expense. We stored the clean covers and inserts on the shelves of our changing table, just as you might with disposables. When it came time to change my son, I simply grabbed a cover and an insert and put it all together.
With the dirty diaper, we took out the insert and threw both insert and cover into our trash can turned diaper pail like this one . I highly recommend a trash can with a foot pedal, for a hands free lid lift. We lined the diaper pail with a wet bag like this one, and when it came time to wash we could throw the wet bag in right along with the diapers.
We chose to use standard disposable wipes, but for those interested in using cloth wipes, or making homemade wipes, there is a wealth of information out there for you.
Washing:
Ok, here’s where the truth comes out. Yes, cloth diapering means doing more laundry. But you might be surprised at how easy it can be. And for me it was well worth the bit of extra effort in the long run. Here’s what we did: while our son was on a milk only diet, we put diapers straight into the pail without any prep. Once our son was older and began eating solids, we started using flushable liners. You might also choose to dunk or spray your diapers into the toilet when they get chunky.
Here are the washing steps:
Step 1: Take the diaper pail mentioned above and empty the contents into the washer.
Step 2: Add detergent. There is a plethora of information out there about which detergent is best for cloth diapers and for baby’s sensitive skin, but we used standard detergents and had no problems. You may have to try different brands to see what works for you though. And we used the same amount of detergent that we would use for a comparable sized load of laundry.
Step 3: Set the washer on the heavy and hot setting as well as a double rinse setting, and turn it on. Some people recommend doing a pre-wash cold rinse, but we did not find it necessary.
Step 4: Dry the diapers on a warm or hot setting. Line drying is also great for those who want to go that route, and I have heard it helps with keeping those diapers lovely and white.
Step 5: Fold and store diapers. This takes about 15 minutes per load and I could often be found performing this task while watching a movie or talking on the phone.
Maintenance:
After a while we found that our diapers were not as absorbent as they once were. People also report lingering ammonia smells. When this happens, it means that there has been a buildup of detergent residue on the diapers and it is time to strip. Stripping your diapers simply means washing unsoiled diapers again 1-2 times with no detergent to wash out the extra residue. We washed our diapers on hot until the water ran clear (no suds) during the agitation cycle. If you find that you are stripping your diapers quite often, you might want to try a different detergent or use less detergent on a regular load.
Getting Out There:
Of course you want to take your baby out into the world, and you needn’t be afraid just because you’re cloth diapering. I actually found it easy to change cloth diapers out and about. I simply threw a few diapers into the diaper bag before leaving the house. I kept a small, zippable wet bag in my diaper bag, and put the dirties in there after changing. When I got home, I threw the dirty diapers straight into the diaper pail and either washed or aired out the wet bag for future use. No sweat!
And there you have it…
Overall I think you will find that cloth diapering is easier than you expect and it will save you a ton of cash over the long run, PLUS it keeps trash out of the landfill! Cloth diapers are earth friendly, economical, and can be super cute (check out all those fun prints!) So don’t be intimidated, jump right on in!
Happy cloth diapering!
Emily Bennett, PPB Guest Post Writer
Emily Bennett is a former elementary teacher, holds a masters degree in education, and is the founder of Baby Blastoff!.